Three (More) Things I Wish I'd Known When I Started Weaving on a Frame Loom
Almost five years ago, I wrote what has become my most read blog post, Five Things I Wish I’d Known When I Started Weaving on a Frame Loom.
I stand by all the lessons shared in that post, and over the past five years of developing my tapestry weaving skills, teaching weaving classes, and countless hours of work at the loom, I am back with five more things I wish I’d known at the very beginning.
Loom Sett (Ends per Inch) and How that Affects a Weaving
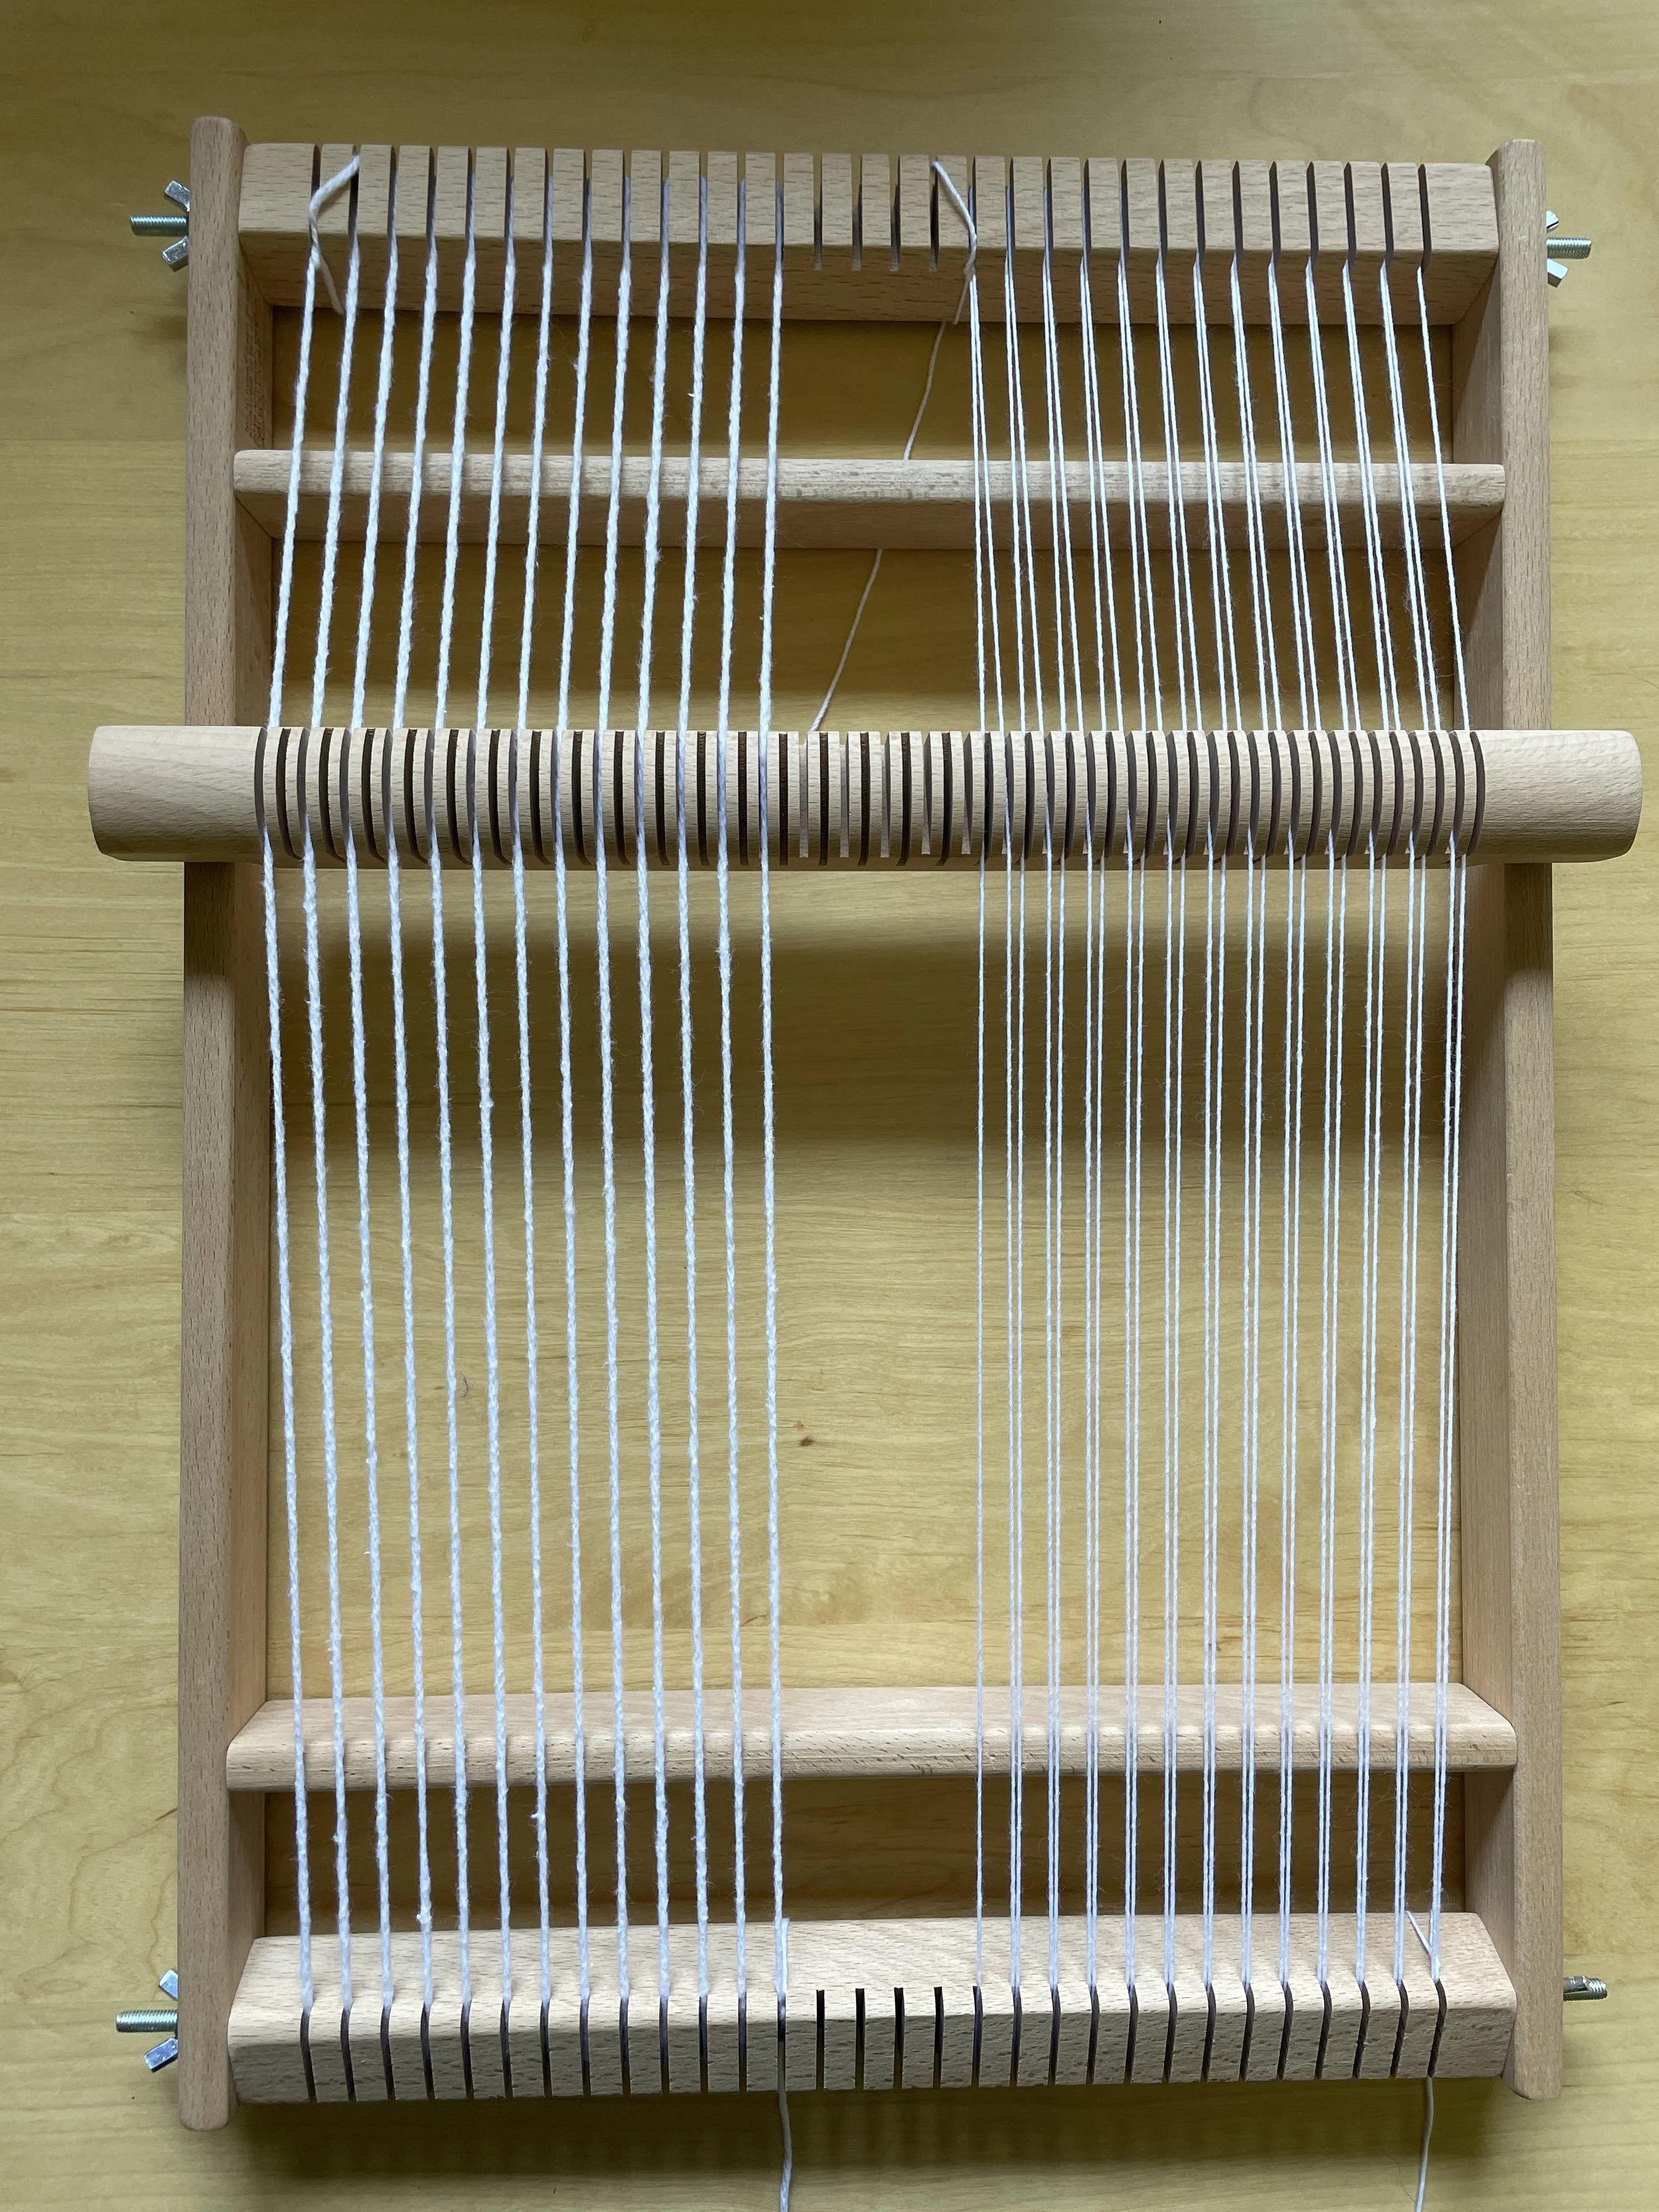
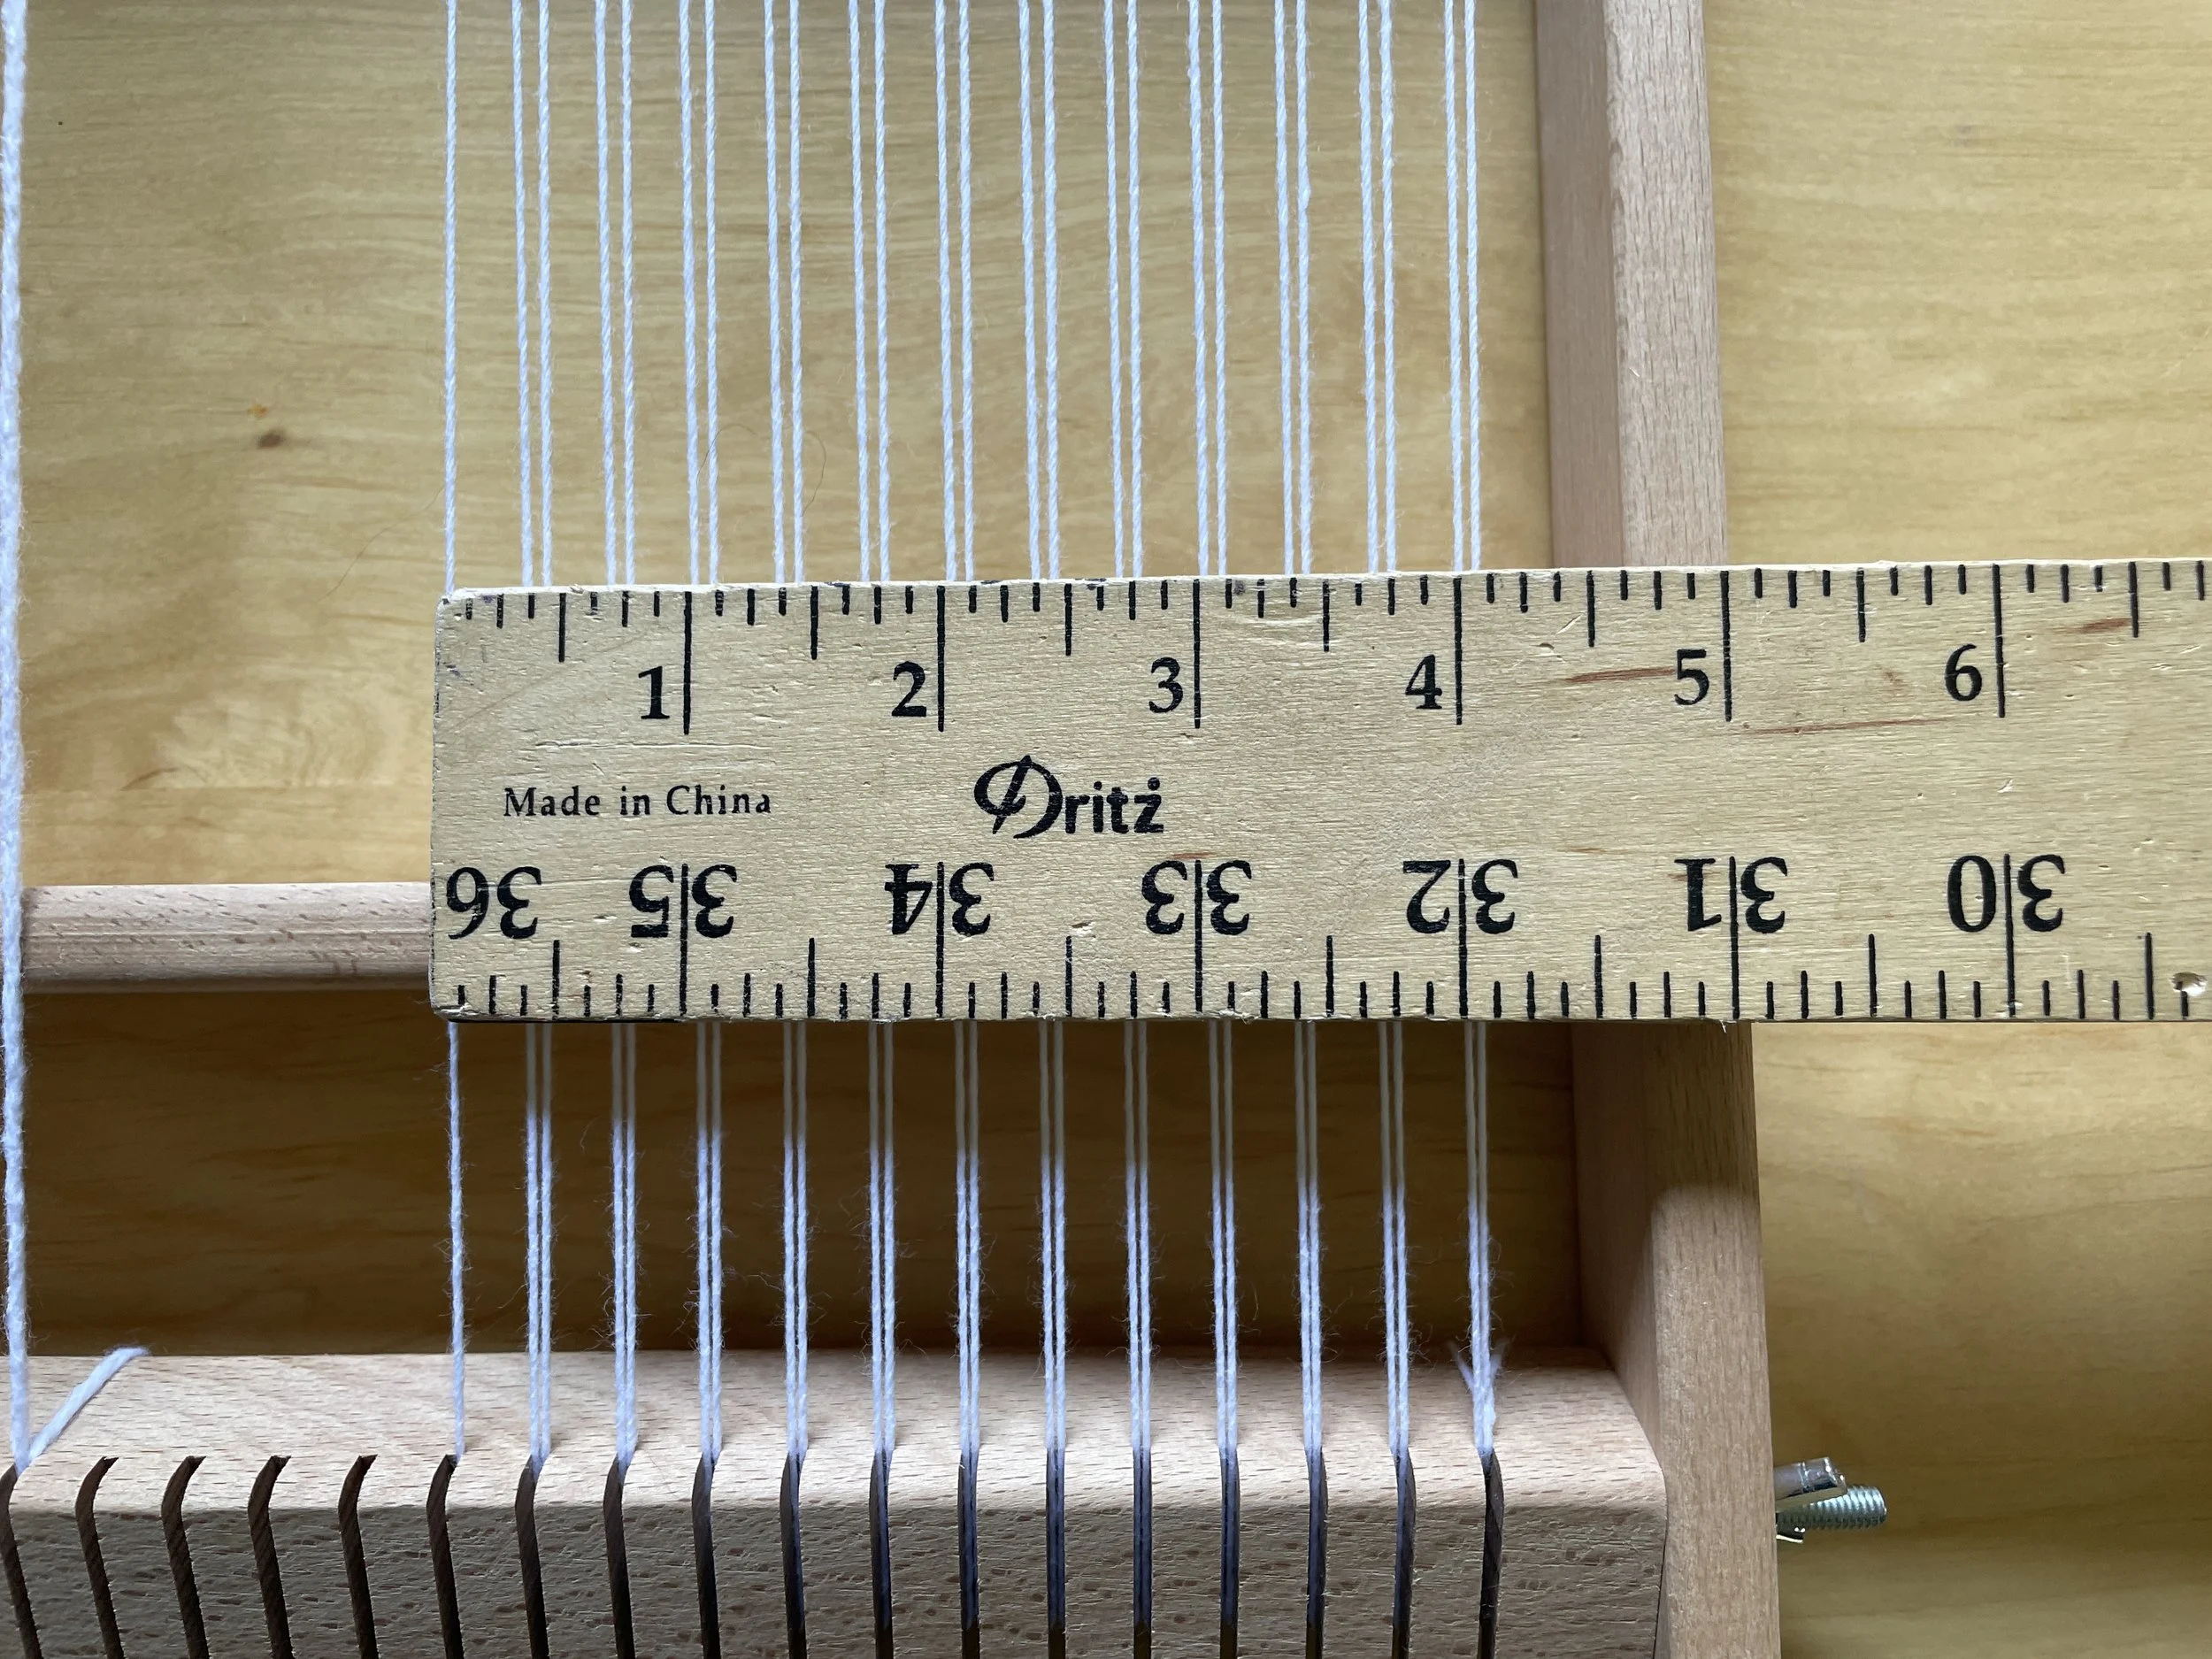
The “sett” or “ends per inch” is the number of warp strings in an inch. Some looms allow you to change the sett, but most wooden tapestry looms like those I weave on and use for my in-person classes have a set sett. The lower the number of ends per inch means the more space between warp strings.
If you have a loom with only 4 ends per inch, you will likely use a thicker warp (like this) and thicker weft or multiple weft yarns bundles together. If you have a loom with 8 ends per inch, you’ll use a thinner warp (like this) and therefore a lighter weft yarn in order to be able to fully cover the warps as we do in tapestry weaving.
Looms with a wide sett are great for beginners, weaving with thick art yarns, or rug weaving. Looms with a higher number of ends per inch are better for more detailed tapestry work.
I began weaving on a loom from childhood using whatever acrylic yarn I had lying around. It took some time, experimentation, and learning from other resources, that the unique make up of the loom should dictate the kind of string I used as the warp, and therefore, the type of weft yarns that worked best for my loom or project I was working on.
On the left, the loom is warped with a 4 epi sett. On the right, an 8 epi sett. Notice how the thick yarn (super bulky) and thinner yarn (medium worsted weight) behave with the different ends per inch.
Weft Bubbling
This one is one of the very basics and foundations of tapestry weaving. I’m not sure when I figured it out or how I came to it, but it seriously improved my ability to achieve straight edges (or selvedges) on my weavings.
Bubbling the weft simply means pulling your weft yarn through the shed at an upward angle, and then packing it down at intervals along the way to create “bubbles” before packing the row down entirely. This will leave enough wiggle room for your weft to go over and under all the warps without pulling in at the sides to accommodate that over-under pattern.
Cleaning Up the Back
When I started weaving, I cleaned up the back of my weaving in an—er—messy way. At the intervals where I had to join two wefts together at the back of a weaving, which is needed when you to change weft colors or start a new shape, I simply tied the two weft ends in a knot and trimmed them short. I didn’t know any better, and was doing what I could with the knowledge that I had at the time!
Now I know the simple way to hide and secure those ends in the back of the weaving using a tapestry needle. I simply pick a vertical column along one warp string and bury the weft end down a weft rows along that column. I then snip off the remaining length of weft and voila, completely clean and invisible!
More Learning
Want more resources to make getting started on your weaving journey feel accessible and fun? Download my free guide -> Free Start Weaving Guide
Further reading for new tapestry weavers:


