
Five Things I Wish I'd Known When I Started Weaving on a Frame Loom
From a self-taught weaver who learned entirely by trying things, Google, and learning through mistakes.
Weave From the Bottom Up.
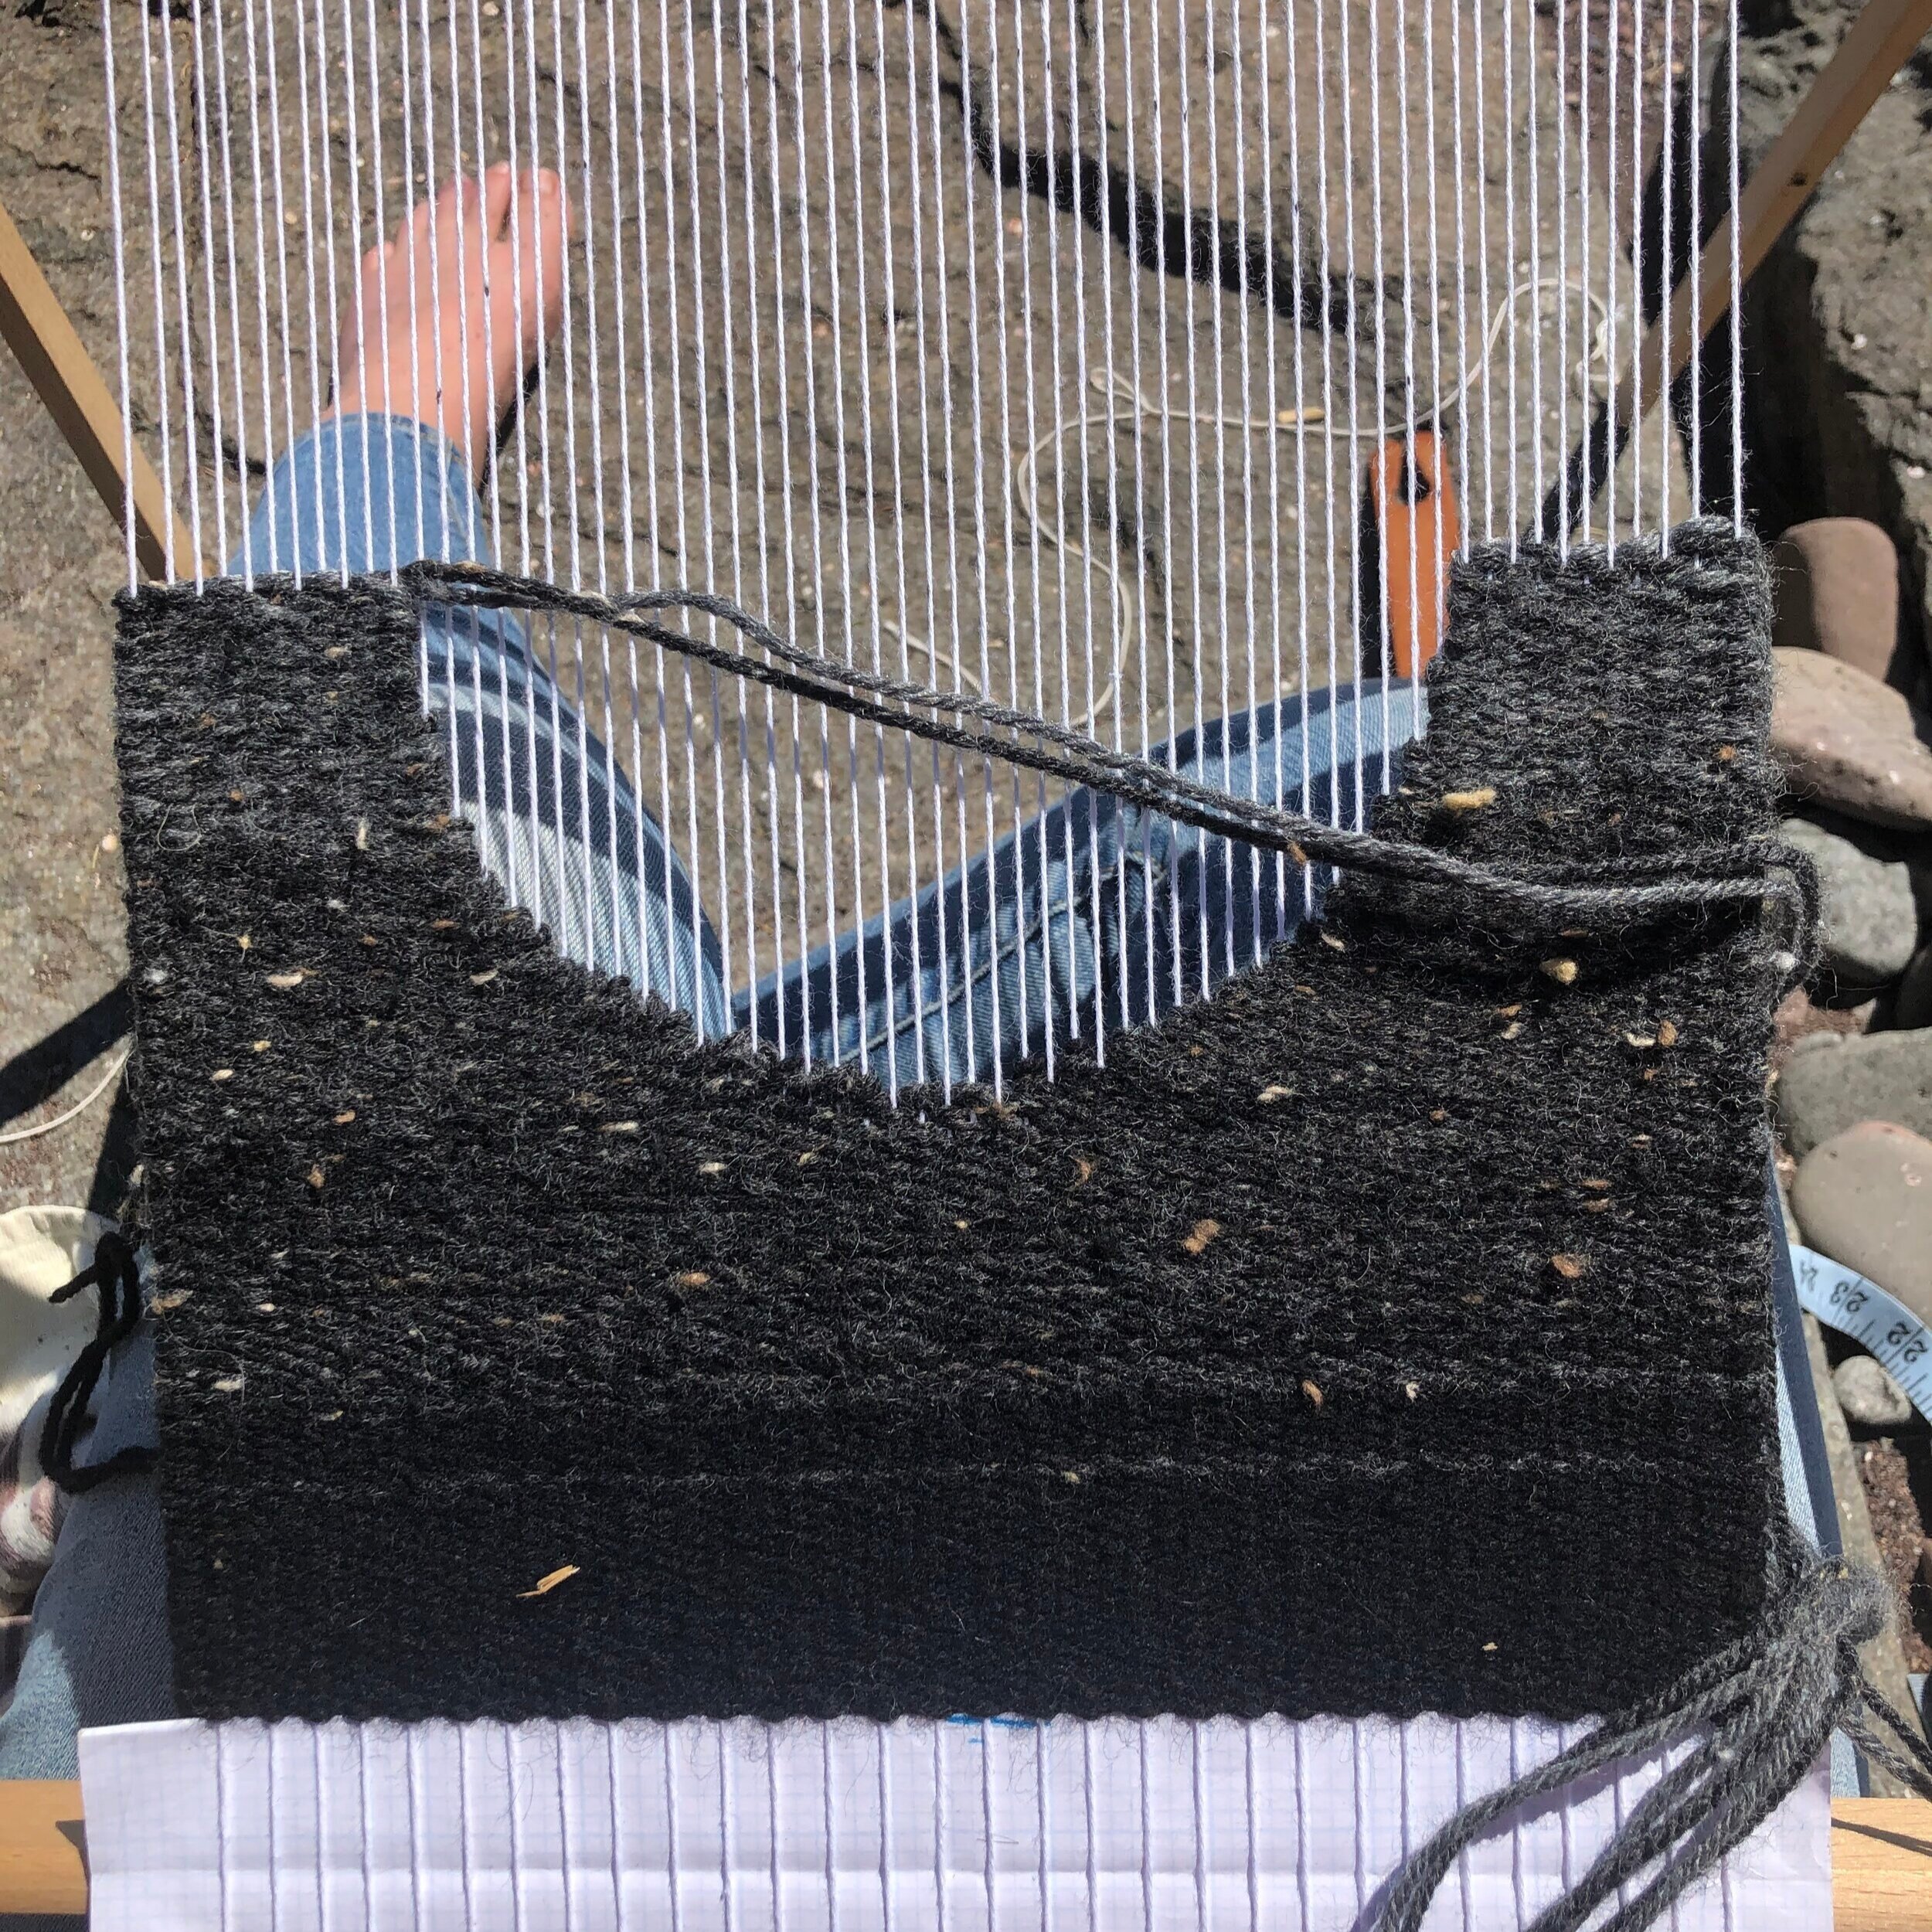
Start at the bottom of the loom, and weave toward the top.
When I first brought the very simple, “vintage” (from my childhood 20 years ago—yikes, does that make it vintage?) lap loom up to my cabin from my parents’ house, I did what seemed natural: wove from the top of the loom to the bottom, top of design to bottom of design. While that might feel like the natural thing to do (or maybe that was just me), weaving from bottom to top allows you to sufficiently pack the weft yarn, maintain consistent tension, and if your design includes shapes, allows you to create the negative space that you can build your shape on top of. (Not going to get into shape weaving in this post, that’s a whole other topic!)
Some weavers, like the brilliant Maryanne Moodie, also weave their design upside down. So, though they are weaving they work from bottom to top, their weaving gets flipped over so that the “bottom” while weaving is the top of the design. That’s cool for them, but my brain just doesn’t work that way. Give both a try! See what works for you.
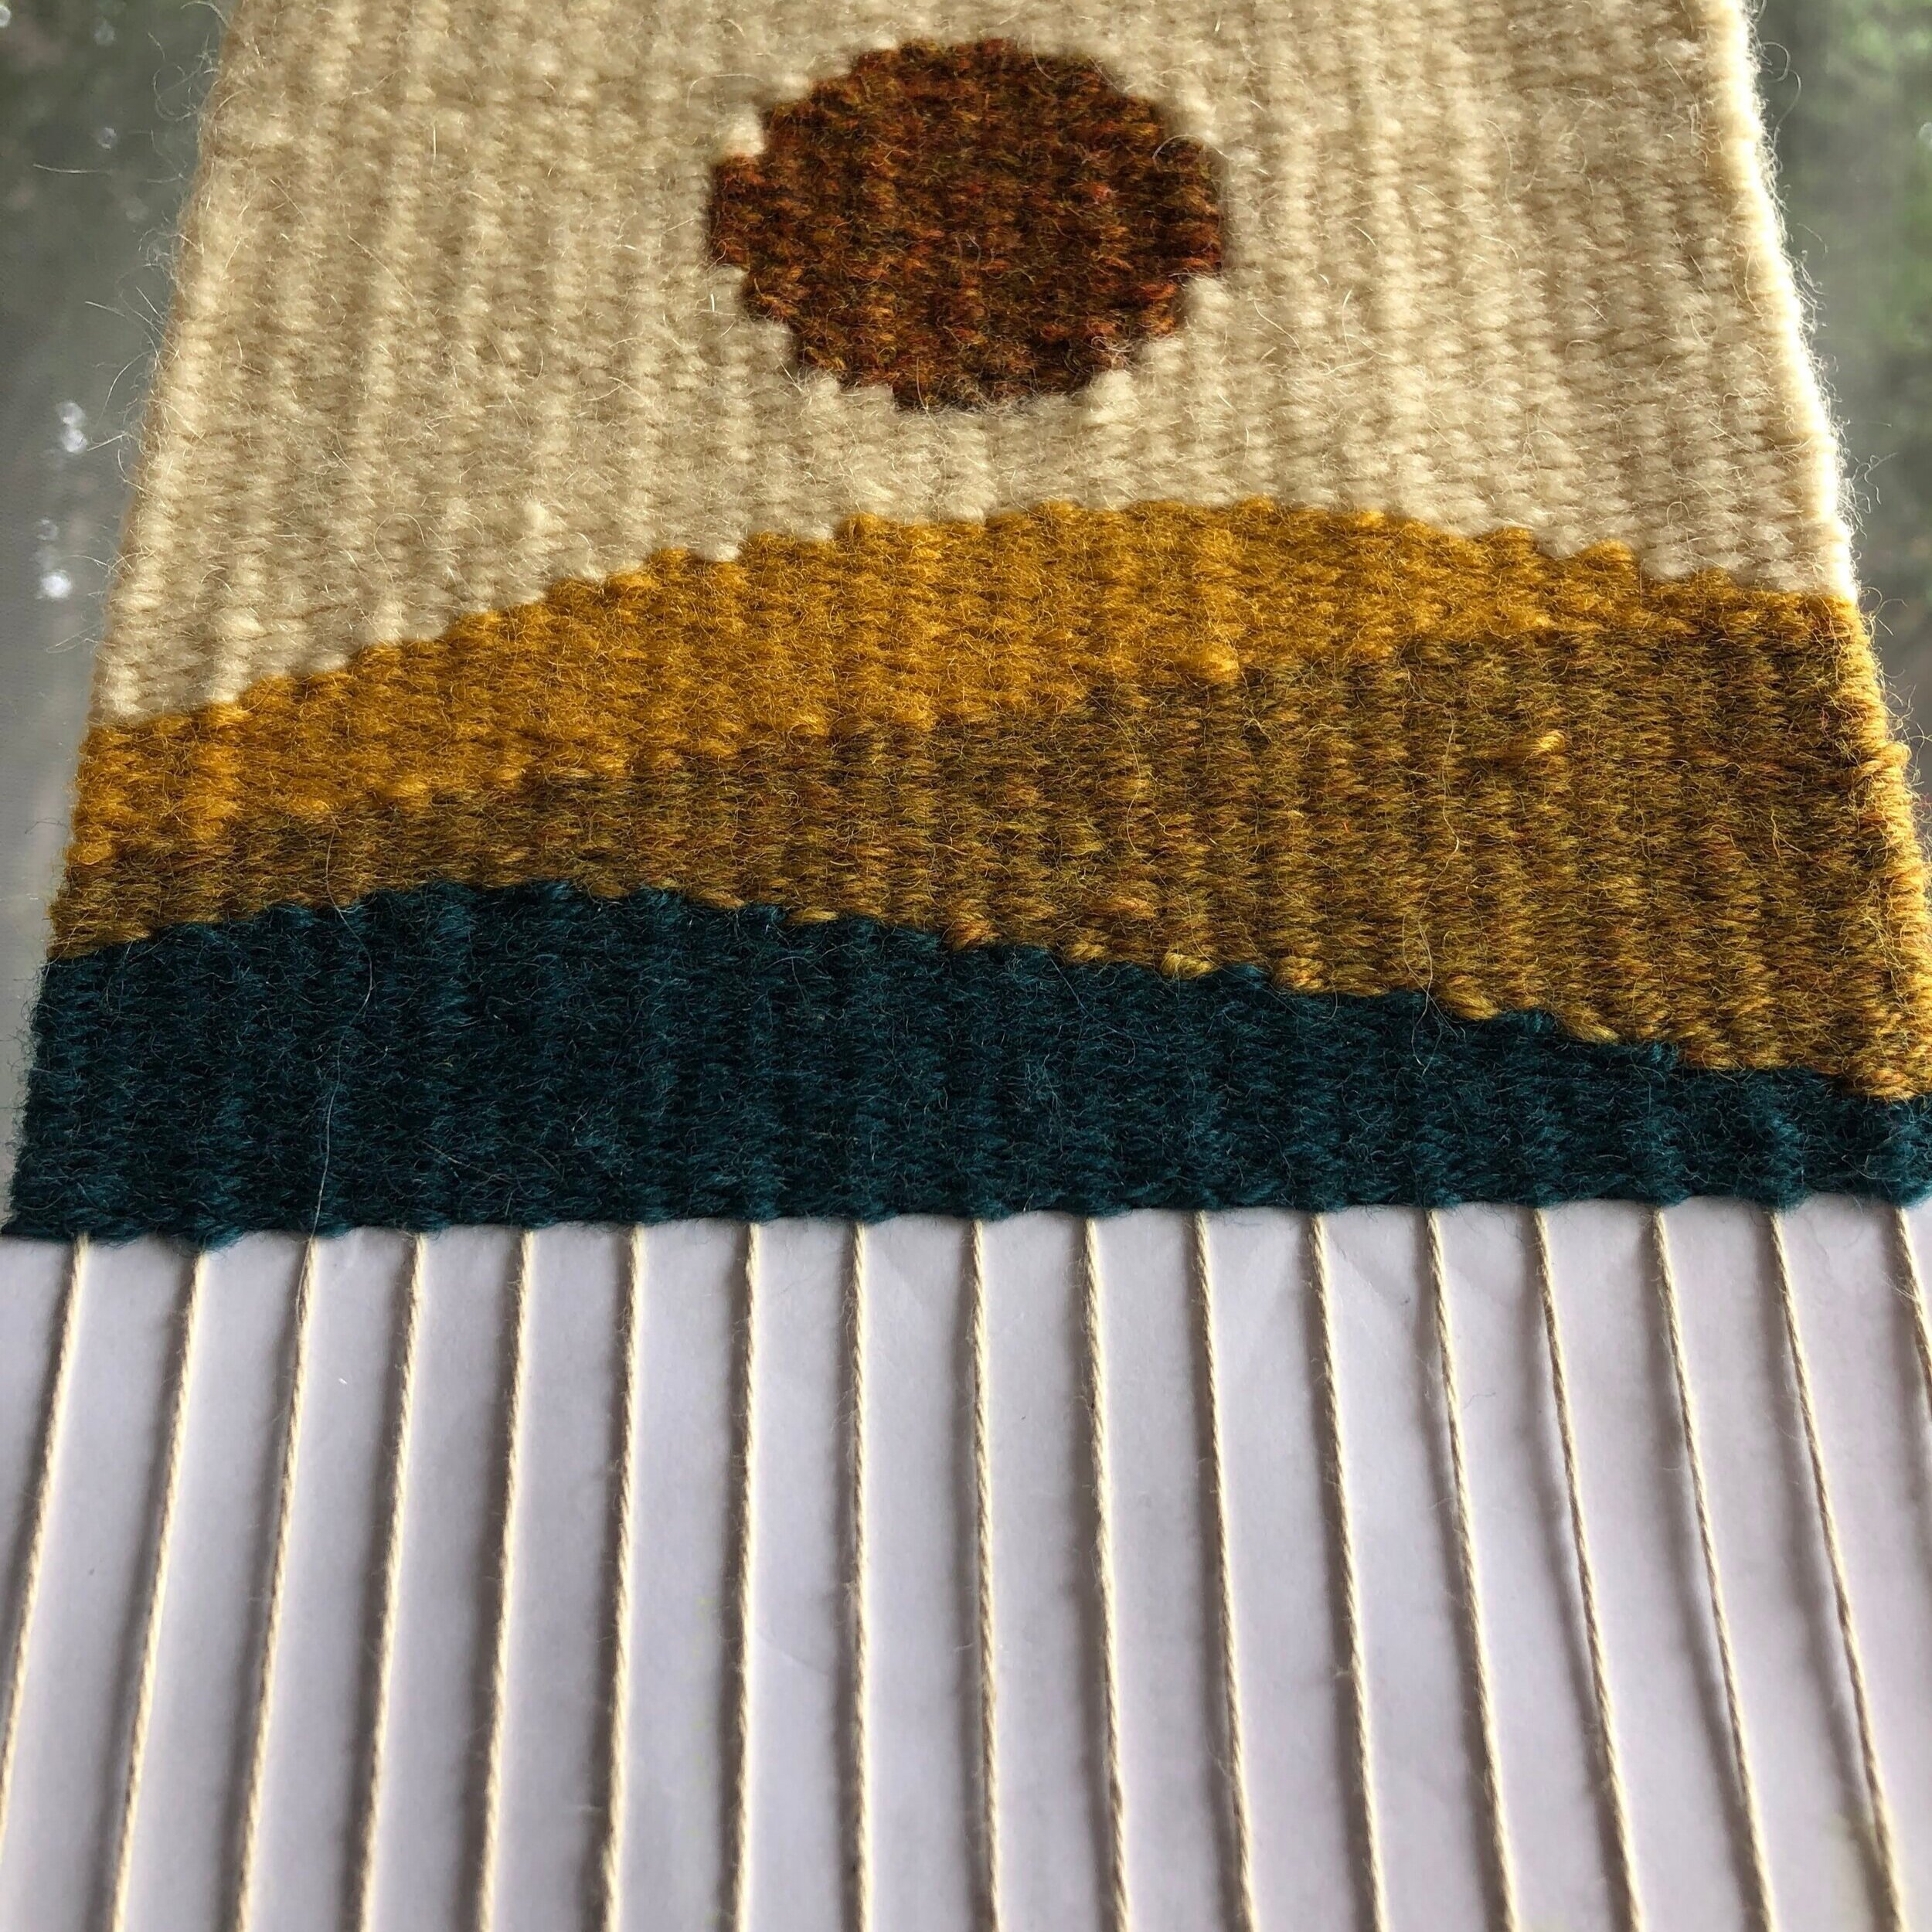
Folded up sheet of paper preserving a few inches of warp string along the bottom of the weaving.
Use The Cardboard Trick.
Also known as, don’t start your weaving at the bottom of your warp strings, right where they loop around the nails, pegs, or teeth, depending on your loom. I did this on my first few weavings, but quickly learned that led to the tension going wonky and the weaving getting warped.
So, after warping the loom, weave a strip of cardboard, folded piece of paper, or some other flexible-yet-sturdy material through the warp strings and nestle it nice and snug along the bottom. I like them to be two+ inches, because the purpose is to leave enough warp string open at the bottom of your weaving so that when your piece is done and ready to come off the loom, you have enough warp to comfortably tie in knots, weave in to the back of your weaving, or serve as fringe if that’s what you’d like. I have swollen fingers due to my rheumatoid arthritis, so I try to give myself a comfortable amount of string for me. Experiment and figure out what length you like best, and get yourself a bunch of cardboard strips or folded graph papers (me) in that size so that you have them on hand to easily reuse each time you start weaving.

Hem stitch.
Finish the top.
Have you heard the good word about the hem stitch? If you don’t know what the hem stitch is, I’m with you! I didn’t learn the hem stitch until after my first big commission for Poplar Haus. I went and visited that big beauty lately and saw that sweet, innocent, unfinished edge. (We all start somewhere. That was the start for me and I have grace for that early weaver!) Without some kind of secure finish, the weft will creep up your warp strings. Knots will do, too, but starting out, I didn’t even know to do that. If you’re in the same boat, I’m with you! Finishing with a hem stitch will give the top of your weaving a secure, uniform top edge. I learned from this blog post and practice.
Start where you are.

Have a bunch of acrylic yarn from your kids’ craft bin or passed down from Grandma for your long-lost knitting aspirations? Use that. Being intentional with what fibers you use—opting for natural vs. synthetic, small farms vs. commercial, etc.—is wonderful. But not everyone has the time, money, or resources to access high quality yarn early on, or ever. There are enough barriers to accessing weaving as it is. Perfectionism in materials doesn’t need to be one of them. (The Weave podcast from Gist Yarn and Fiber has a great podcast episode about the racist history of textiles in America, including some discussion on how challenging weaving is to access because of the expense, time, and space it requires).
I started out using acrylics from my Grandma Wick as well as some skeins I had around for my long-lost knitting aspirations. When I could, I started experimenting with wool and wool-blends, but honestly I couldn’t afford them on a housekeeper’s salary. Once I started making some income from weaving, I used that to purchase wool I liked, while also still supplementing with acrylic fibers when desired.
While I now have a collection of both natural and synthetic fibers in my stash, I had the most fun this past spring using up old acrylic yarn in super bright colors on projects that, instead of being a way to use up old yarn, inspired a whole new collection and new voice in my work.
Share it all.
If weaving is something you enjoy and you use social media, share your work! Yes, even the early stuff with the crooked edges and lack of finished tops. Yes, even if you don’t plan to sell them and it’s just for fun.

Photo by Laura Muus Photography.
It was only through sharing my work that I made connections with other weavers from whom I learn a ton and get plenty of inspiration and encouragement from. It was only through sharing my work that friends knew to ask for commissioned pieces, and that local shops knew I existed and asked to carry my work.
And I only knew “modern weaving” was a thing because I saw wall hanging on Pinterest; because someone—a beginner—shared their project. Your share may introduce someone else in your social circle to weaving. It may bring you an online weaving friend, or a whole community of weaving friends. Heck, it may give your life a whole new direction. That’s what sharing my imperfect work did for me.
Want to learn more about getting started on your weaving journey? Download my free guide -> Free Start Weaving Guide